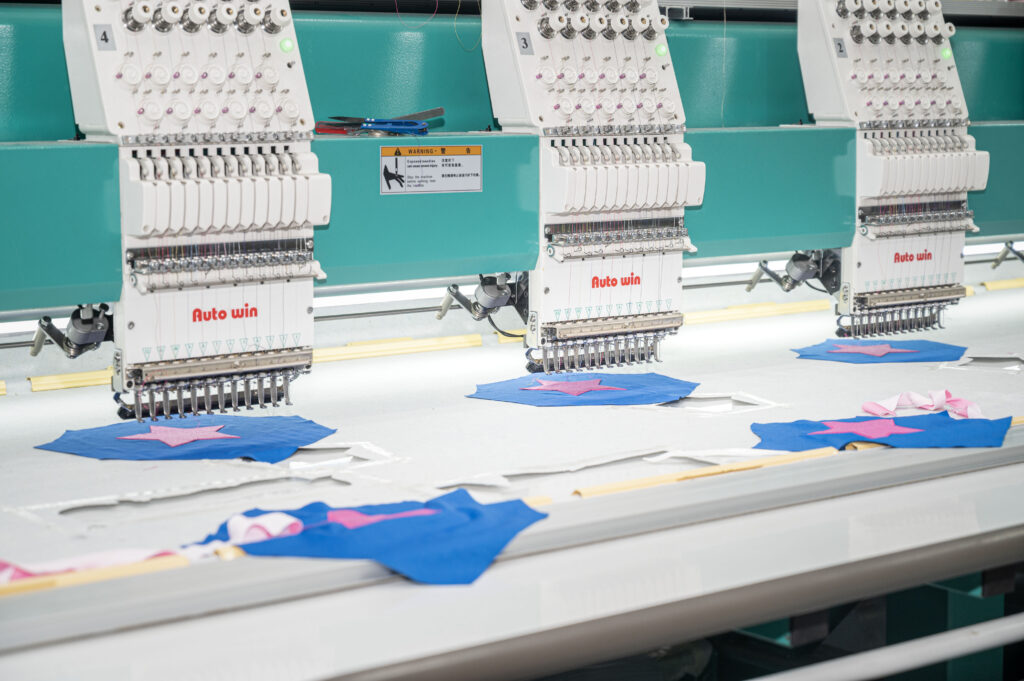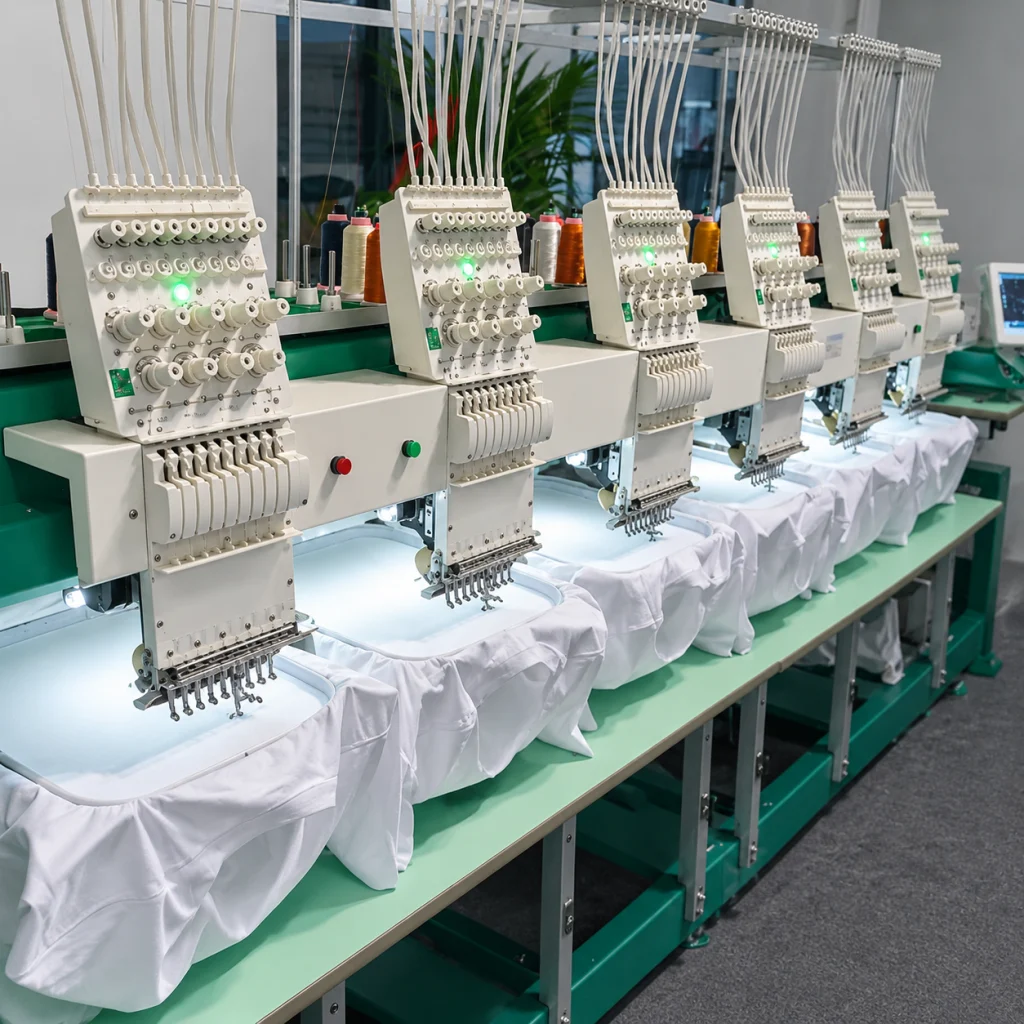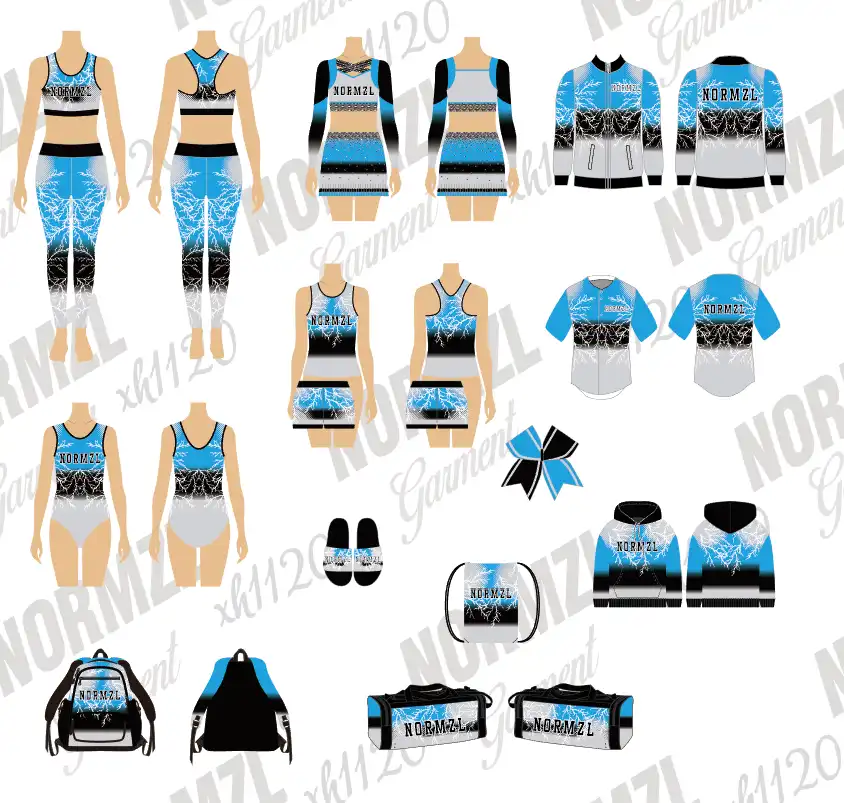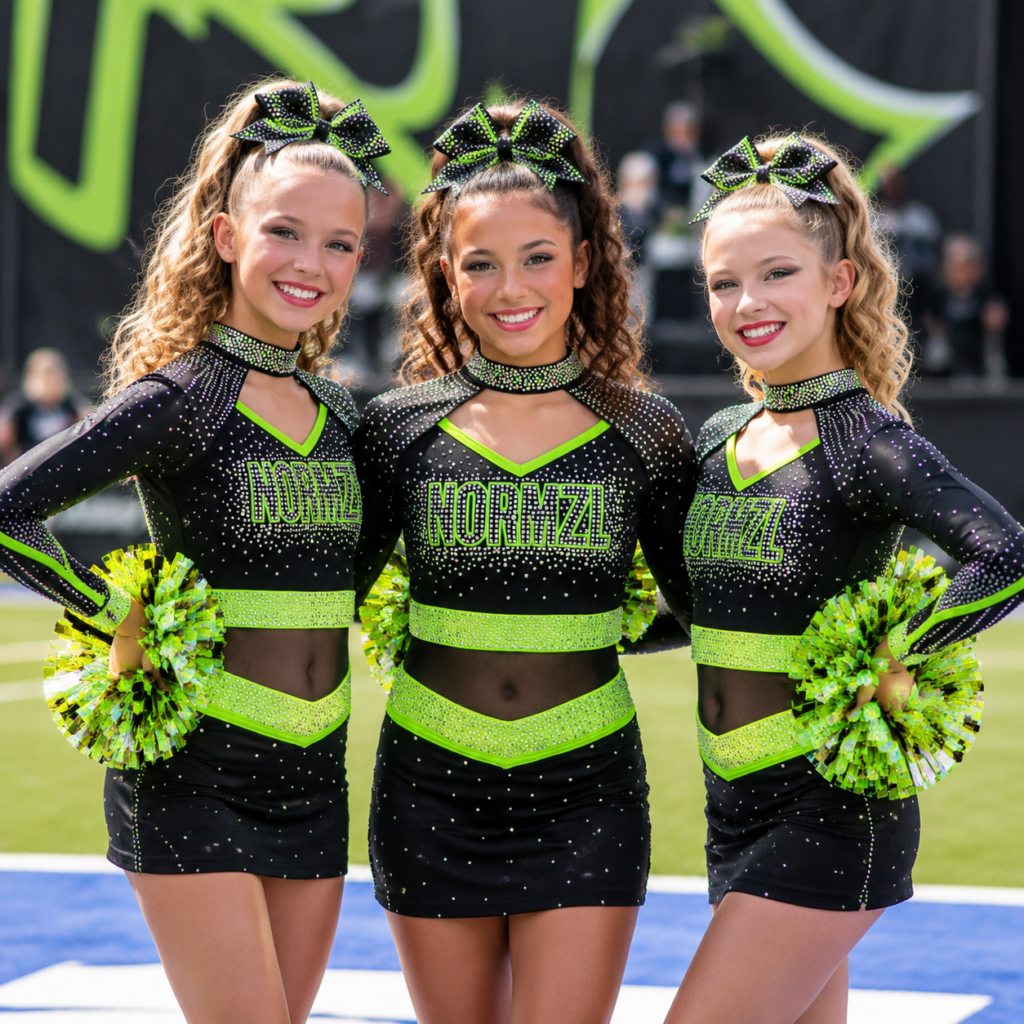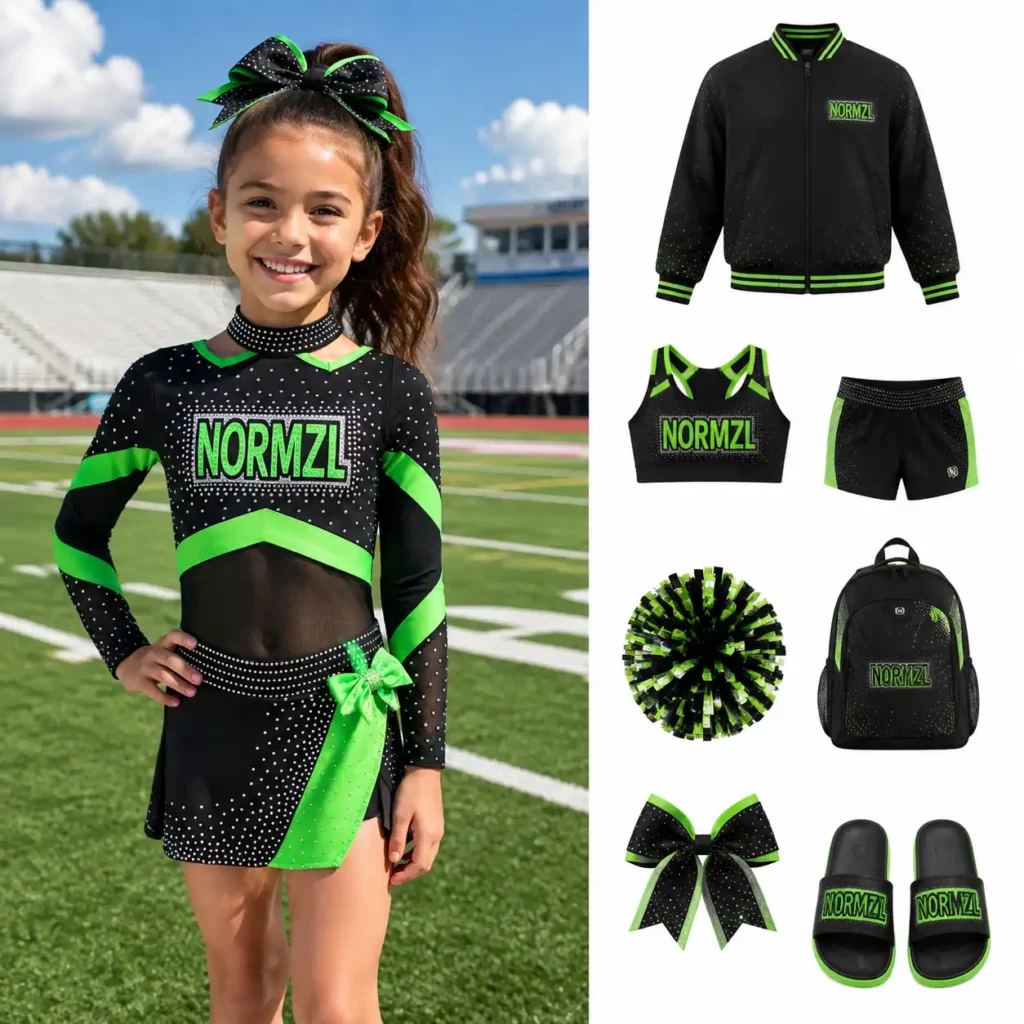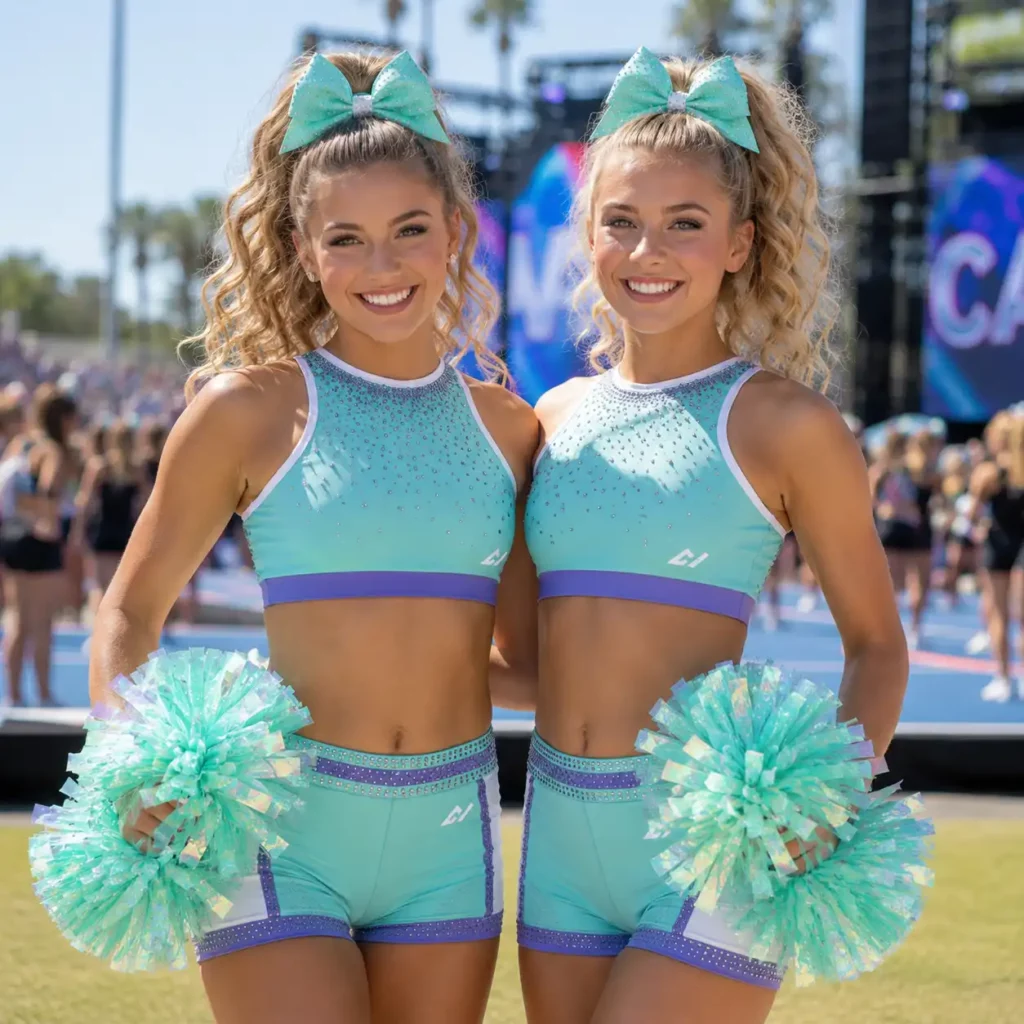
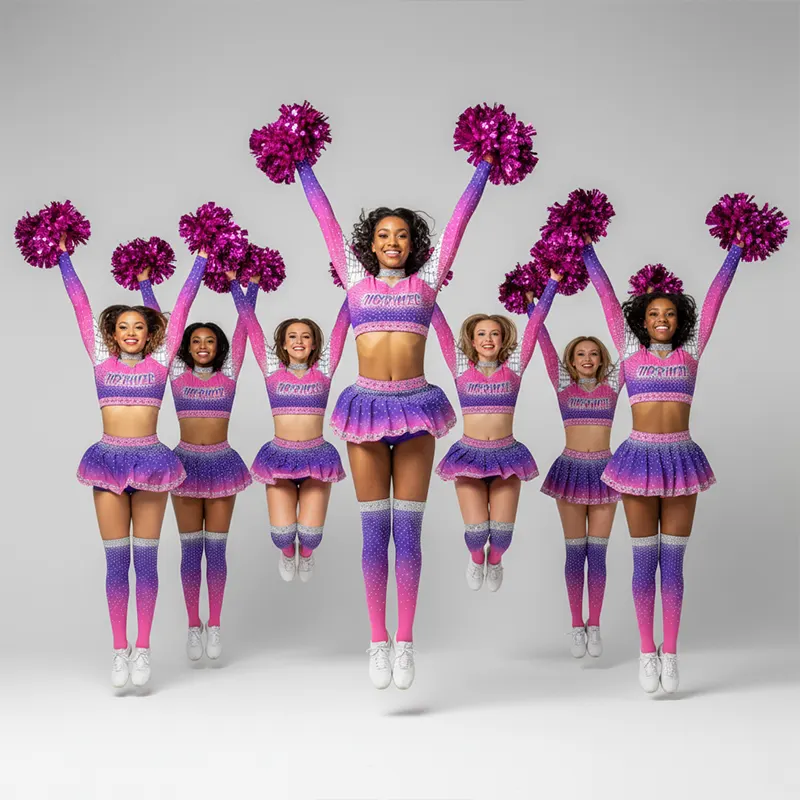
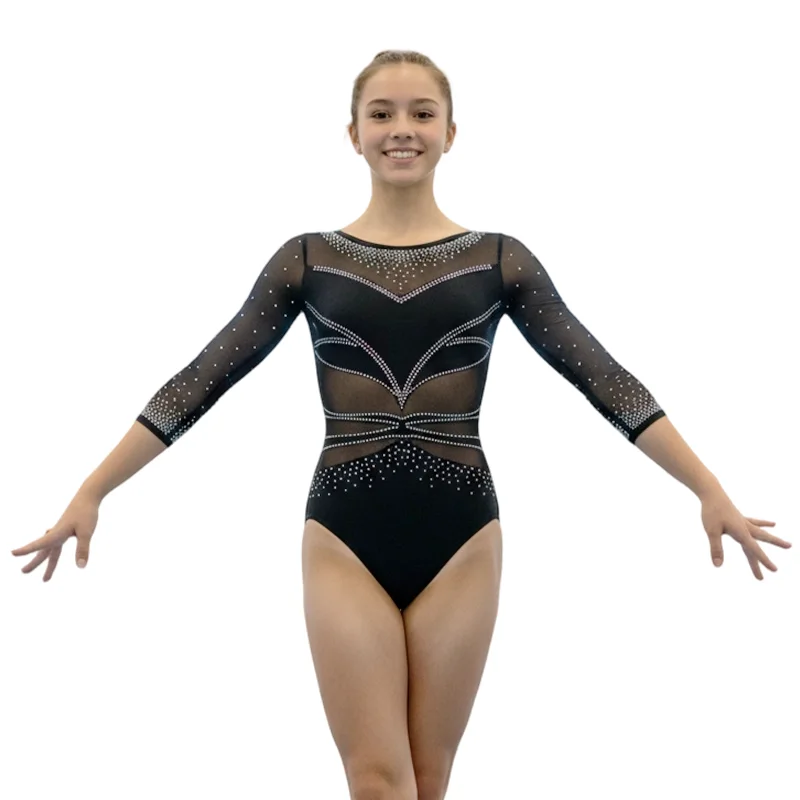
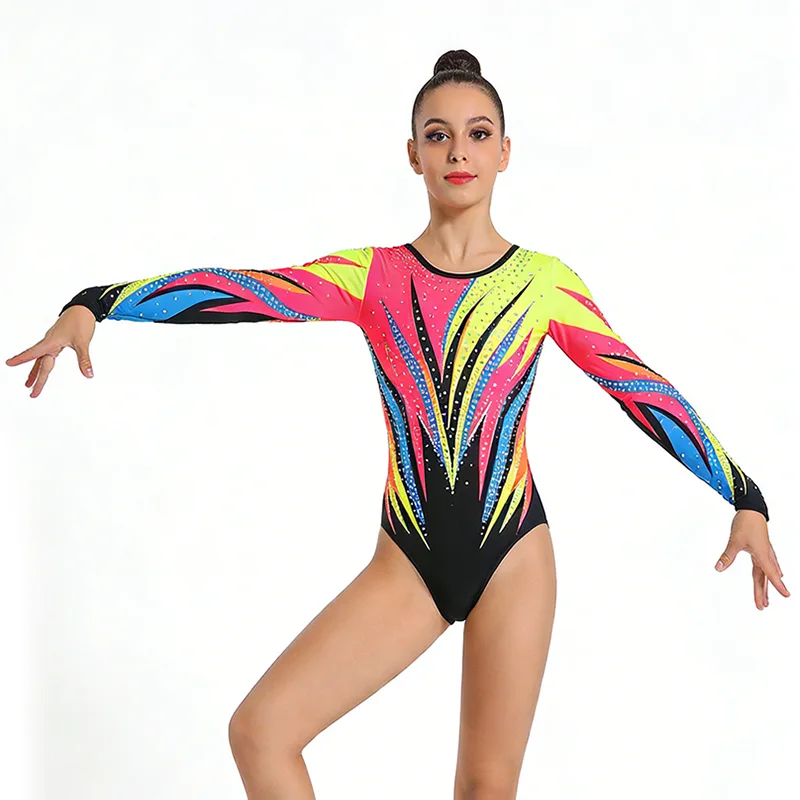
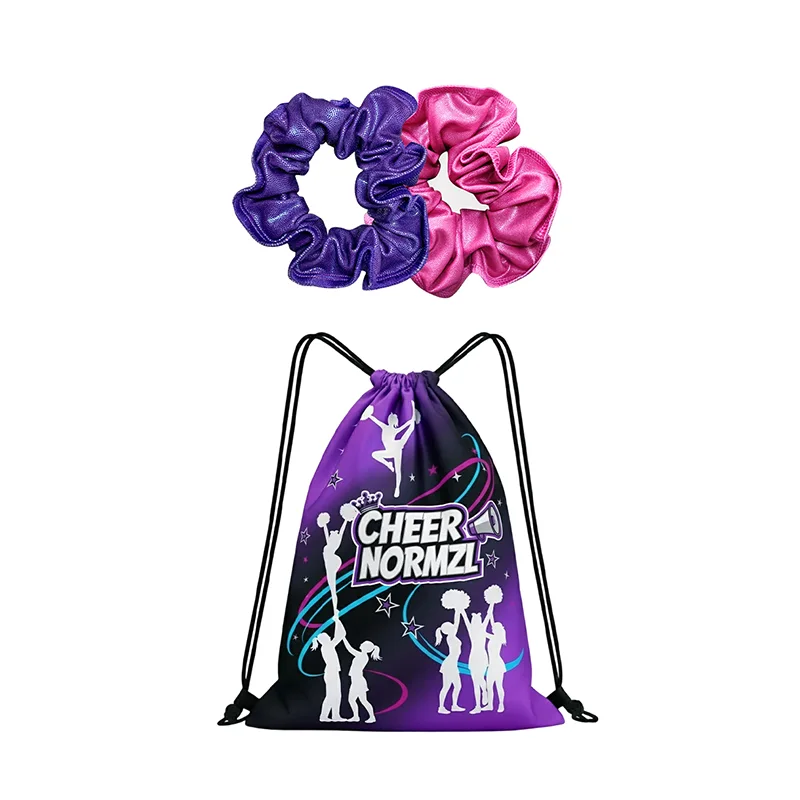




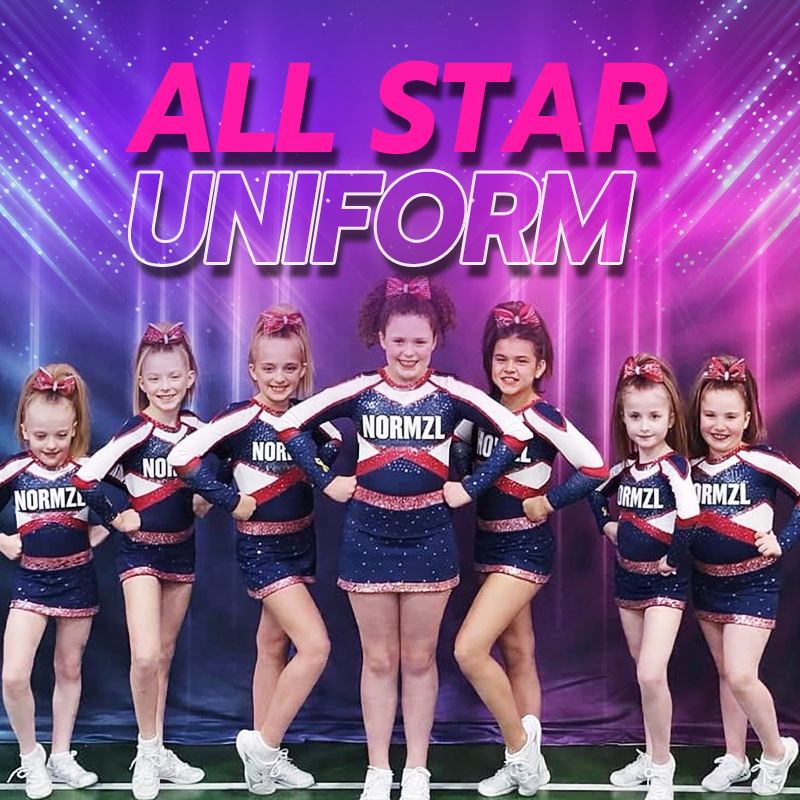
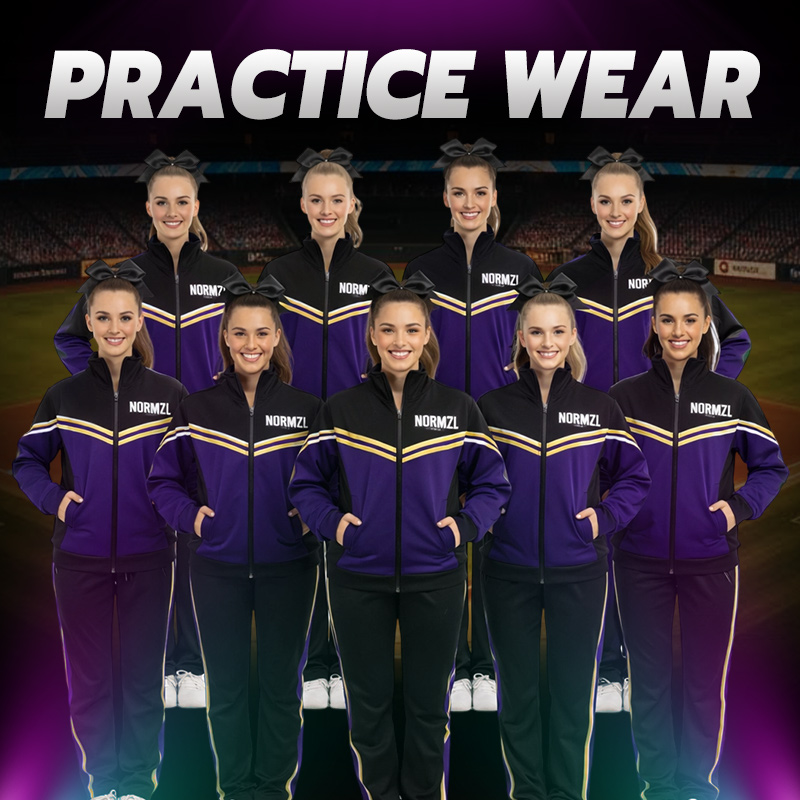
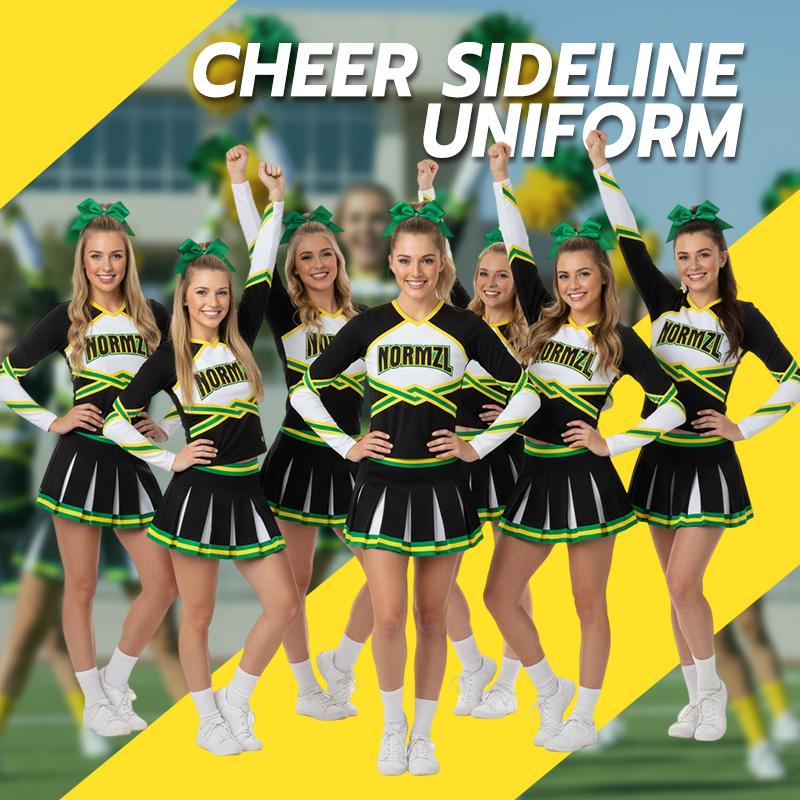
Cheerleading uniforms are more than performance outfits. They represent a team’s identity, espírito escolar, and personality. From embroidered team logos to personalized names and mascots, embroidery is an effective way to create distinctive custom cheerleading uniforms.
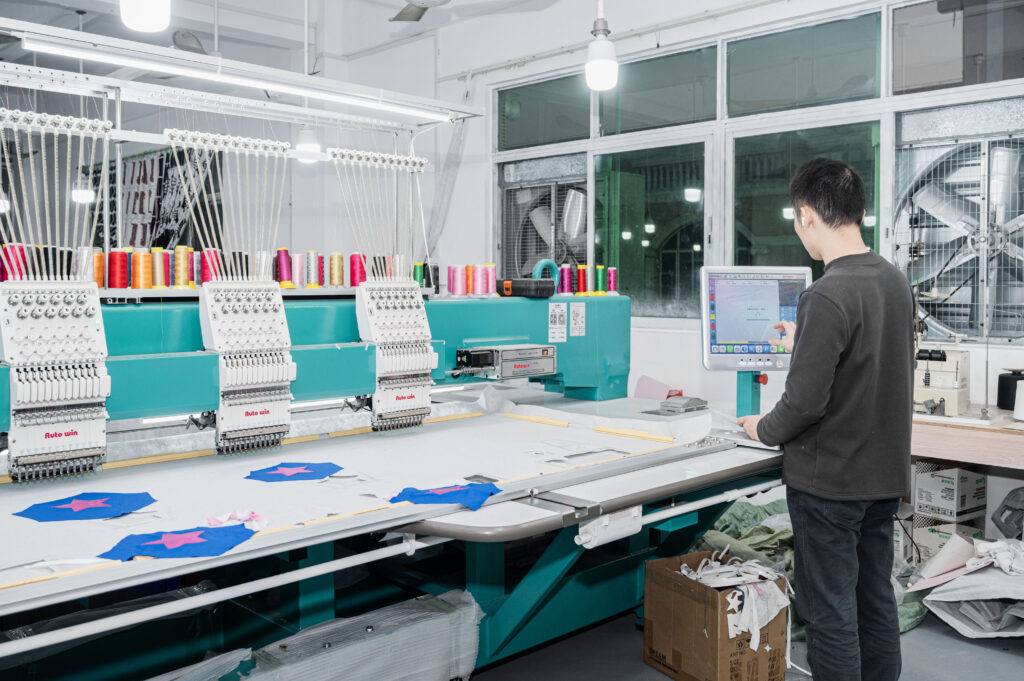
But how do you machine embroider on cheerleading uniforms without damaging the fabric, affecting stretch, or creating puckered stitches?
The key is choosing the right embroidery materials, stabilizing stretch fabrics properly, selecting suitable designs, and testing the embroidery process before production.
Neste guia, we explain how machine embroidery works on cheerleading uniforms, what materials you need, common problems to avoid, and which customization methods work best for different team designs.
1. Can You Machine Embroider on Cheerleading Uniforms?
Sim. Machine embroidery can be used on many types of cheerleading uniforms, including custom cheer tops, saias, warm-up jackets, desgaste de prática, e acessórios de equipe.
No entanto, cheer uniforms are different from traditional cotton garments. Many performance uniforms use polyester-spandex blends, stretch knits, painéis de malha, and other lightweight fabrics.
These materials require special attention during embroidery because excessive stitching tension or an unsuitable stabilizer can cause:
- Fabric puckering or wrinkling.
- Distorted logos and lettering.
- Broken threads or skipped stitches.
- Small needle holes in lightweight fabrics.
- Reduced fabric flexibility around the embroidered area.
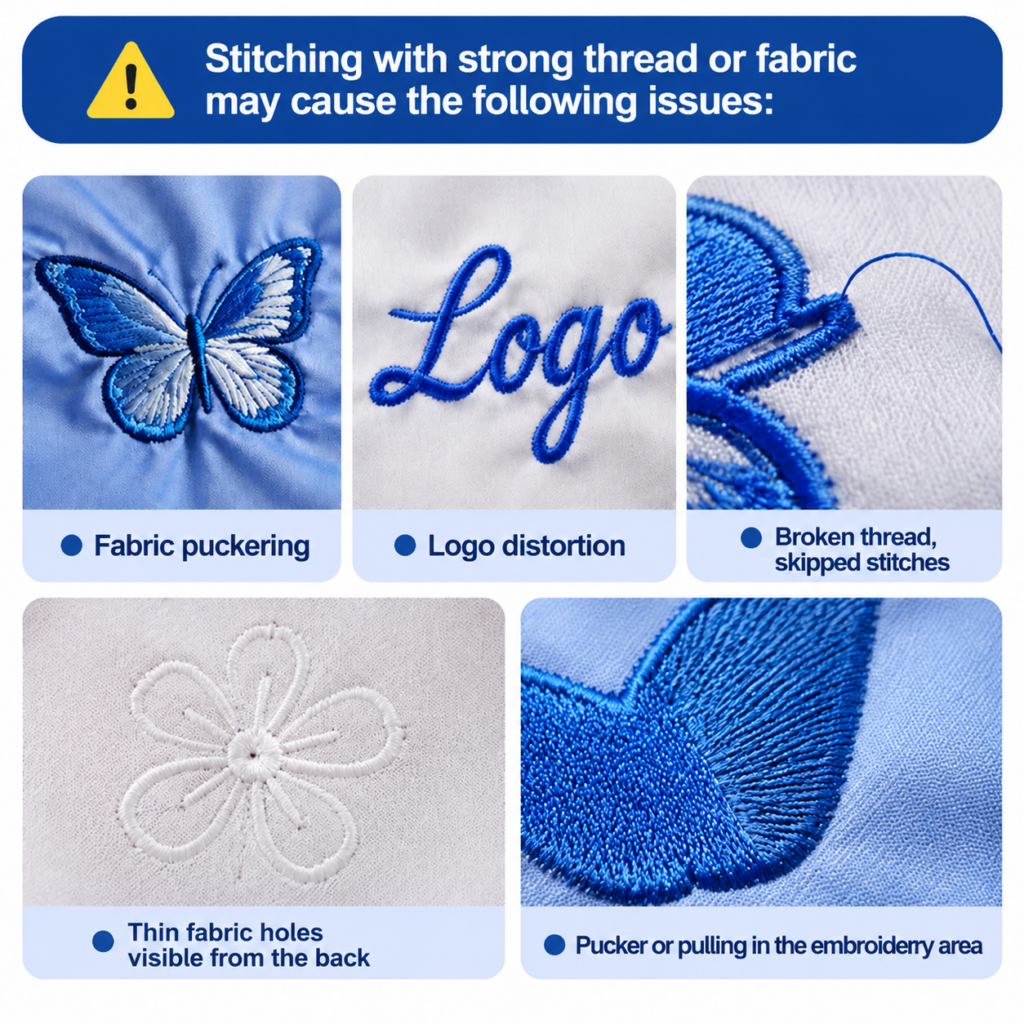
Por esta razão, the embroidery process should be adjusted according to the fabric composition, grossura, nível de alongamento, and design complexity.
2. What Materials Do You Need for Machine Embroidery?
Before starting, prepare the appropriate embroidery materials and equipment.
| Material | Recommended Option | Propósito |
| Embroidery machine | Computerized embroidery machine | Creates logos, nomes, and decorative patterns |
| Stabilizer | Cut-away or no-show mesh | Supports stretch fabric during stitching |
| Needle | Ballpoint embroidery needle, often size 70/10 ou 75/11 | Helps reduce damage to knitted fabrics |
| Embroidery thread | Polyester or rayon embroidery thread | Creates decorative stitches |
| Bobbin thread | Machine-compatible embroidery bobbin thread | Supports the stitching underneath |
| Embroidery hoop | Suitable hoop for the design size | Holds fabric and stabilizer in position |
Why is stabilizer important?
Cheerleading uniforms often contain stretch materials. Without proper stabilization, the fabric may move or stretch during stitching, resulting in distorted embroidery.
A cut-away stabilizer or lightweight no-show mesh is commonly used for stretch fabrics because it continues supporting the stitches after the embroidery is completed.
For additional technical guidance, see the OESD embroidery guide for special fabrics.
3. Passo a passo: How to Machine Embroider on Cheerleading Uniforms
Here is a practical workflow for creating embroidered logos and designs on cheerleading apparel.
Etapa 1: Prepare Your Cheer Uniform Design
Start with the artwork you want to embroider.
Common embroidery designs include:
- School names and team names.
- Cheerleading team logos.
- Mascots and custom symbols.
- Player names and initials.
- Small decorative lettering.
For the best results, use high-quality digital artwork. Vector files are particularly useful when preparing logos for digitizing.
Keep in mind that not every graphic design is suitable for embroidery. Extremely small lettering, thin outlines, and complicated gradients may need to be simplified.
Etapa 2: Convert the Artwork into an Embroidery File
A digital image cannot usually be sent directly to an embroidery machine as a stitch pattern.
It first needs to go through a process called digitizing.
Digitizing converts the artwork into machine-readable stitch instructions, incluindo:
- Stitch direction.
- Stitch density.
- Stitch type.
- Thread color changes.
- Stitch sequence.
- Design dimensions.
For cheerleading uniforms, the digitizing process is particularly important because stretch fabrics may react differently to embroidery tension.
Large, dense embroidery designs can make lightweight performance fabrics feel stiff. A suitable stitch structure helps maintain a balance between visual quality and garment flexibility.
Etapa 3: Choose the Right Stabilizer
Stabilizer helps prevent the fabric from shifting and stretching during embroidery.
For polyester-spandex cheerleading uniforms, cut-away stabilizer or no-show mesh is often a suitable starting point.
For lightweight fabrics, a softer mesh stabilizer may be preferable. For more complicated designs, additional support may be necessary.
Some embroidery projects also use a water-soluble topping on the front to help keep stitches from sinking into textured or uneven surfaces.
Always test the stabilizer on a fabric sample before embroidering the finished uniform.
Etapa 4: Hoop the Fabric Correctly
Proper hooping is one of the most important steps.
Follow these guidelines:
- Place the stabilizer behind the embroidery area.
- Position the fabric evenly in the embroidery hoop.
- Keep the fabric flat and avoid excessive stretching.
- Make sure the fabric and stabilizer cannot shift during stitching.
- Check that the embroidery area is away from seams and other obstacles.
For compression-style garments or fabrics designed to be embroidered under controlled stretch, follow the fabric and embroidery supplier’s recommendations and test the result first.
Incorrect hooping can lead to uneven lettering, puckering, and distorted logos.
Etapa 5: Select the Correct Needle and Thread
A ballpoint needle is commonly recommended for knitted and stretch fabrics because its rounded tip can move between fabric loops rather than cutting through them.
Needle size should depend on fabric thickness and thread requirements.
Polyester embroidery thread is another popular option for team apparel because it offers a durable, colorful finish.
Before starting a large embroidery project, check the machine settings and make sure the upper and bobbin threads are compatible with the machine manufacturer’s recommendations.
Etapa 6: Run a Test Embroidery
Never skip the test embroidery stage.
Use a fabric sample that matches the actual cheerleading uniform material. Test the same stabilizer, needle, thread, and design settings planned for production.
Check the following:
- Are the letters clear and readable?
- Does the fabric remain flat?
- Are the stitches evenly distributed?
- Is the logo correctly positioned?
- Does the embroidered area retain sufficient flexibility?
If the result is not satisfactory, adjust the stitch density, stabilizer, needle, or hooping method before proceeding.
Etapa 7: Complete the Embroidery and Inspect the Uniform
After embroidery is completed, carefully remove excess stabilizer according to its type and manufacturer instructions.
Inspect both the front and back of the garment.
Pay special attention to loose threads, uneven stitching, distorção de tecido, and uncomfortable backing around the embroidered area.
The finished uniform should look professional while remaining comfortable for cheerleaders during practice and performances.
4. Where Should You Place Embroidery on a Cheerleading Uniform?
Embroidery placement affects both appearance and garment performance.
Different areas of a cheer uniform offer different customization opportunities.
| Uniform Area | Popular Embroidery Ideas | Considerations |
| Front chest | Logotipo da equipe, school initials | Keep the design appropriately sized |
| Back | Team name, mascote, nome do jogador | Avoid overly dense designs |
| Mangas | Small logos or initials | Check sleeve width and stretch |
| Jaquetas de aquecimento | Nomes de escolas, logotipos de times | Suitable for larger embroidered designs |
| Acessórios | Nomes, initials, marca da equipe | Depends on the accessory material |
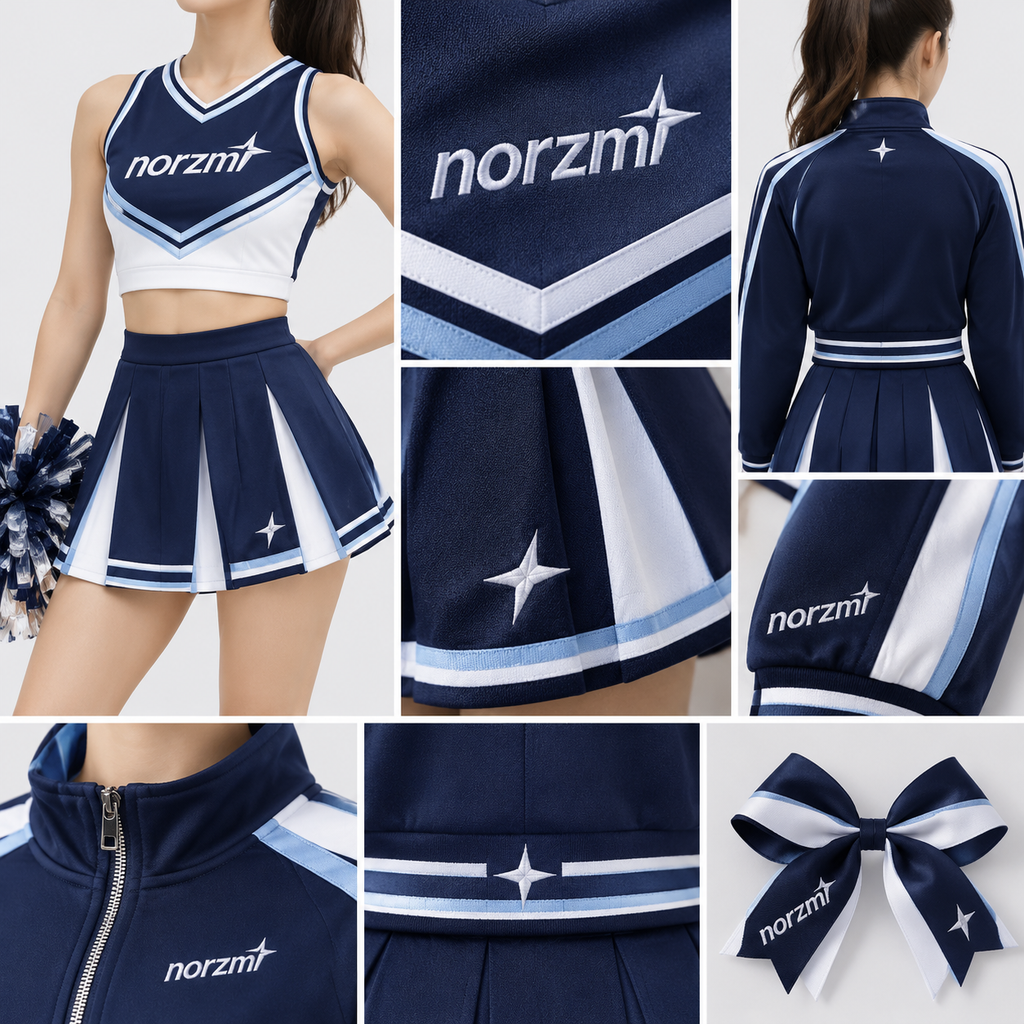
For competition cheer uniforms, small embroidered logos and personalized details are often easier to incorporate without affecting garment flexibility.
For warm-up jackets and team bags, larger embroidery designs may offer more design freedom because these products generally have more suitable embroidery areas.
5. Machine Embroidery vs. Embroidered Patches vs. Transferência de calor
Not every cheerleading uniform design needs direct machine embroidery.
Depending on the artwork, tecido, e orçamento, several customization techniques can be considered.
| Customization Method | Main Advantages | Best Applications |
| Direct embroidery | Textured, professional stitched appearance | Nomes de times, initials, small logos |
| Patches bordados | Flexible design placement and detailed artwork | Logotipos escolares, mascotes, complex team graphics |
| Heat transfer | Leve, colorido, and suitable for many custom graphics | Gráficos grandes, nomes, colorful patterns |
| Enfrentar sarja | Layered fabric lettering with a bold appearance | Large school names and team lettering |
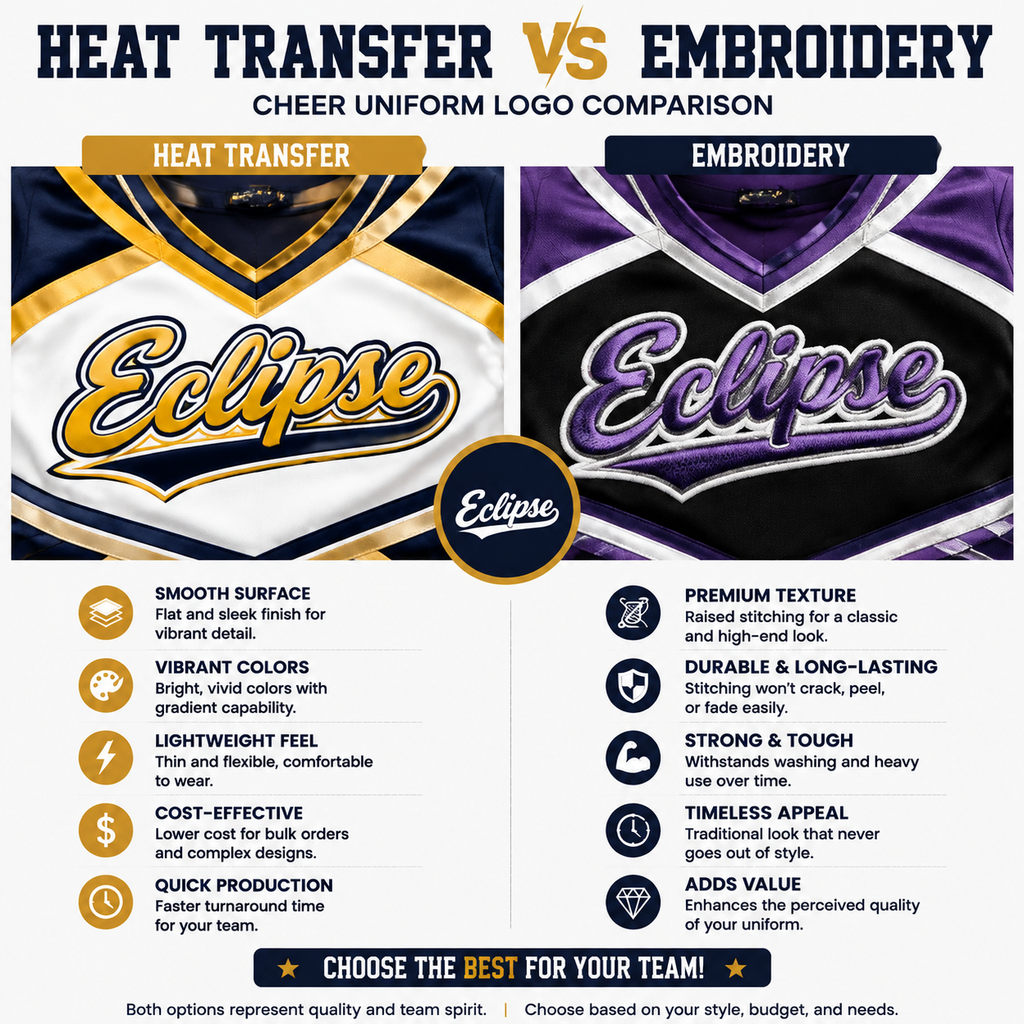
Which method should you choose?
- Choose direct embroidery when you want a traditional stitched logo or personalized lettering.
- Choose embroidered patches when your logo contains multiple details or needs to be produced separately before being sewn onto the uniform.
- Choose heat transfer when your design includes complex colors or needs a lightweight finish.
- Choose tackle twill when you want bold, layered lettering.
Por exemplo, a school cheer team may choose an embroidered school logo on the chest, heat-transfer graphics on the back, and rhinestone decorations on the front.
Combining different techniques can create a more distinctive custom cheerleading uniform.
You can also explore customization examples from Omni alegria to understand how embroidery, enfrentar sarja, and other decoration methods are used in cheer apparel.
6. Common Machine Embroidery Problems and How to Avoid Them
Even with the right embroidery machine, mistakes can happen. Here are some common issues and practical solutions.
Problem 1: Fabric puckering around the logo
Possible causes:
- Insufficient stabilization.
- Excessive fabric stretching during hooping.
- Too many stitches in a small area.
Soluções:
- Use an appropriate cut-away stabilizer.
- Avoid pulling the fabric too tightly.
- Reduce unnecessary stitch density.
Problem 2: Embroidery looks uneven
Possible causes:
- Incorrect hoop positioning.
- Fabric movement during stitching.
- Unsuitable digitizing settings.
Soluções:
- Check hoop tension and alignment.
- Secure the fabric and stabilizer properly.
- Run a test sample before production.
Problem 3: Needle holes appear in the fabric
Possible causes:
- Incorrect needle size or type.
- Excessive needle penetration.
- Fabric that is too delicate for the design.
Soluções:
- Try an appropriate ballpoint needle.
- Adjust the design for lightweight materials.
- Test the needle and stitch settings on a fabric sample.
Problem 4: Embroidered areas feel too stiff
Possible causes:
- Excessive stitch density.
- Large solid embroidery areas.
- Too much backing or unsuitable stabilizer.
Soluções:
- Simplify the artwork.
- Reduce unnecessary stitching.
- Consider an embroidered patch or heat-transfer alternative.
7. How Normzl Customizes Cheerleading Uniforms
Em Normzl, we understand that every cheerleading team has its own identity, design preferences, and performance requirements.
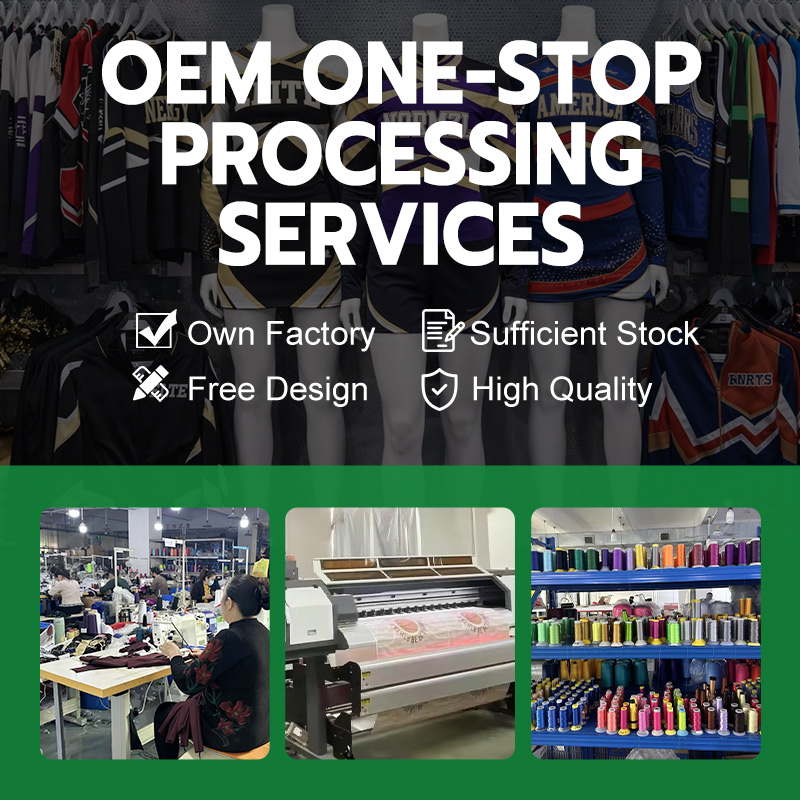
As a custom cheerleading uniform manufacturer, we provide customization solutions for school cheer teams, All Star Cheer teams, equipes de dança, and wholesale buyers.
Our customization options include:
1. Custom Team Logos
Add school names, logotipos de times, initials, and personalized graphics to your uniforms through embroidery or other suitable decoration techniques.
2. Embroidered and Sewn-On Patches
Have your team artwork developed into a custom patch and sewn onto the garment for a distinctive branded appearance.
3. Multiple Decoration Techniques
Combine embroidery, transferência de calor, strass, lantejoulas, and metallic fabrics to create unique team uniform designs.
4. Custom Teamwear Collections
Coordinate cheerleading uniforms with practice wear, warm-up jackets, arcos, and other team accessories through a one-stop customization service.
5. Design Support and Production
Share your reference images, logotipo, or design ideas with our team. We can help develop a suitable uniform design based on your requirements.
Whether you are preparing new uniforms for a school season or developing a coordinated collection for an All Star Cheer team, choosing the right customization method is an important part of the process.
Visita Site oficial da Normzl to explore our custom cheerleading uniform solutions.
8. Frequently Asked Questions About Cheerleading Uniform Embroidery
1º trimestre: Can you embroider a logo on a stretch cheerleading uniform?
Sim. Many stretch cheerleading fabrics can be embroidered with suitable stabilization, needles, and stitch settings. No entanto, the fabric composition and logo size should be evaluated before production.
2º trimestre: What is the best stabilizer for cheerleading uniform embroidery?
Cut-away stabilizer or no-show mesh is commonly used for stretch knit fabrics. The final choice depends on the fabric weight, nível de alongamento, and embroidery density.
3º trimestre: Can I embroider names on cheerleading uniforms?
Sim. Nomes de times, nomes de jogadores, initials, and school logos are popular embroidery options. Small lettering should be digitized carefully to maintain readability.
4º trimestre: Is embroidery better than heat transfer for cheer uniforms?
Neither method is universally better. Embroidery creates a raised, acabamento texturizado, while heat transfer is suitable for colorful graphics and lightweight designs. The best choice depends on the design and uniform fabric.
Q5: Can embroidered patches be sewn onto cheerleading uniforms?
Sim. Custom embroidered patches can be produced separately and sewn onto suitable uniform areas. This is a useful option for detailed school logos and team mascots.
Q6: Can embroidery be combined with rhinestones and sequins?
Sim. Different decoration techniques can be combined to create custom cheerleading uniforms. No entanto, their placement and production sequence should be planned carefully to avoid interference between embroidery and other embellishments.
Q7: How do I order custom embroidered cheerleading uniforms?
Start by preparing your team logo, preferred colors, quantities, tamanhos, and reference designs. Contact a custom uniform manufacturer to discuss fabric selection, opções de bordado, samples, and production arrangements.
Em Normzl, we welcome inquiries from school teams, All Star Cheer teams, dance organizations, e parceiros atacadistas.
Considerações Finais
Machine embroidery is a valuable customization technique for cheerleading uniforms, especially when teams want to showcase their school identity, logotipos de times, and personalized details.
The best results come from matching the embroidery design with the right fabric, stabilizer, needle, and stitching method.
If you are planning a new cheerleading uniform collection, consider combining embroidery with other customization techniques to create a design that reflects your team’s personality.
Looking for a custom cheerleading uniform manufacturer?
Contact Normzl to discuss your team designs, logo customization, fabric options, and complete teamwear requirements.
Site: https://normzl.com/